Showing posts with label Science. Show all posts

February 8, 2015

Lost Shell


It is not often that we do science projects, but this was such an awesome one! I thought we were going to use only one egg--but my partner wanted to extend the experiment and have the kids enjoy the process. In fact, I say again, it was the best science project ever.  Again, Pinterest, thank you. You are still my friend.  I saw the idea on http://mycrazyblessedlife.com/2012/09/27/naked-eggs/.

My partner wanted the kids to have a true scientific experience, so he expanded this process instead of just a single egg. He began by asking the kids how different substances react on objects.  Six eggs were provided and six kids were chosen to select a six liquid solutions the eggs could be placed in. So they chose oil, water, milk, vinegar, dish soap, and bleach.

The kids were asked what would happen if the eggs were left in the solutions.  Being kindergartners and first graders, some said the egg would break, the eggs would sink, they would become softer. One stated that the solutions would produce bubbles.  After these predictions, the eggs were dunked into their solutions for 48 hours.

The next day, the children crowded round the table to observe if anything was going on with the eggs. There was no appreciable difference in any of the eggs, except the vinegar solution had myriads (not their word) of bubbles covering the egg.

On the second day, the children were brought to a table to see more changes, if any among the eggs. Sometimes kids are so funny with the statements they make.  Here are a few:
1. This is bigger!
2. This looks like lemonade!
3. I think this is softer. The shell is gone. It is what happens when you put a rock in water; it turns a little softer.
4. It looks like a water balloon

One child tried to measure the shell-less egg with his fingers.  It was a good opportunity to bring out the ruler and have another opportunity to share that measuring things in our environment is a very good practice.

It was obvious that the egg soaked in vinegar was larger than the other eggs. I so wish you could have seen the faces of the children.  I learned from another co-worker that the video we had taken could be edited out and that the audio could be extracted.  You now have the option seeing some of the edited film.

If I have time, I'll try to re-edit the video with sound.  I think you will have a blast hearing one child say "vi-gi-ner" instead of "vinegar". Until then, I hope you all have good imaginations! :)


Supplies:
1. eggs
2. vinegar
3. solutions: milk, water, oil
4. short plastic cups

Directions:
1. place eggs in various solutions of your choosing
2. wait 2-3 days for vinegar to dissolve eggshell

Duration:
This was a three day process for us

February 1, 2015

Spirograph


I have always taken care of the little ones.  So one day I asked if I could be with the older kids.  There was no hesitation with my co-workers or the on-site supervisor, but...that gig only lasted two months.
This was a group that definitely needed complex types of projects.  I chose the spirograph because it seemed pretty straightforward; and therefore, I decided to let the kids do the erecting of it all by themselves.  They would have to learn teamwork and collaboration (which only worked to a small extent; but at least it WAS something).

Everything always looked so good on the Martha Stewart website. They must have practiced this project at least 10 times to get it right? On http://www.marthastewart.com, they showed this activity by video.  But I wasn't worried because these boys were going to do the spirograph--and they were gong ho.  I printed out the instructions, got the supplies and let them go at it. Actually, they did a pretty good job.  The project just needed a little tweeking here and there. But BRAVO!!

One of the boys was testing out the flow of paint from the bottle. The blue bottle wasn't working well, so adjustments were being made, such as thinning the paint and opening the nozzle more.


The yellow worked, but I don't have any pictures to present to you.


Here, the boys got the blue paint to flow through the nozzle just right.


I wanted to show you the top of the tripod of how it was tied off.


The little ones wanted to take in the action by placing chairs around the boys' project.


Supplies:
1. three bamboo poles for tripod
2. rope for binding poles
3. plastic bottles for paint with nozzles (ours were tops from glue bottles)
4. duct tape
5. single hole punch
6. newspaper
7. large white butcher or water color paper
8. scissors
9. large paper clip
10. box cutter
11. string
12. hot glue gun
13. measuring cups


Directions:
1. set up tripod with string (we had no rubber feet, which was fine)
2. one inch from bottom of plastic bottles, make incision with box cutter, and cut off the bottom of bottles with scissors
3. with hot glue gun, secure nozzles to plastic bottles
4. with duct tape, cover the bottom of the nozzles (to prevent any leakage)
5. fold over duct tape three equal distances on opening of bottle
6. punch one hole in each of the three duct tabs
7. thread each hole doubly with string (about two feet) and attached them to a paper clip to the string hanging from the tripod
8. prepare paint (one part paint to one part water)
9. pour paint into measuring cup
10. place plastic covering on floor for protection or newspaper
11. place butcher paper or water color paper on top of newspaper
10. add paint to plastic bottle (hold carefully)
11. holding bottle off the paper, test the flow of the paint; if okay, let the bottle swing and watch the patterns that it will create.

Note:
If my written directions have brought you into a fog, here is Martha's video:


Duration:
This project took one day


January 8, 2015

Spin Out

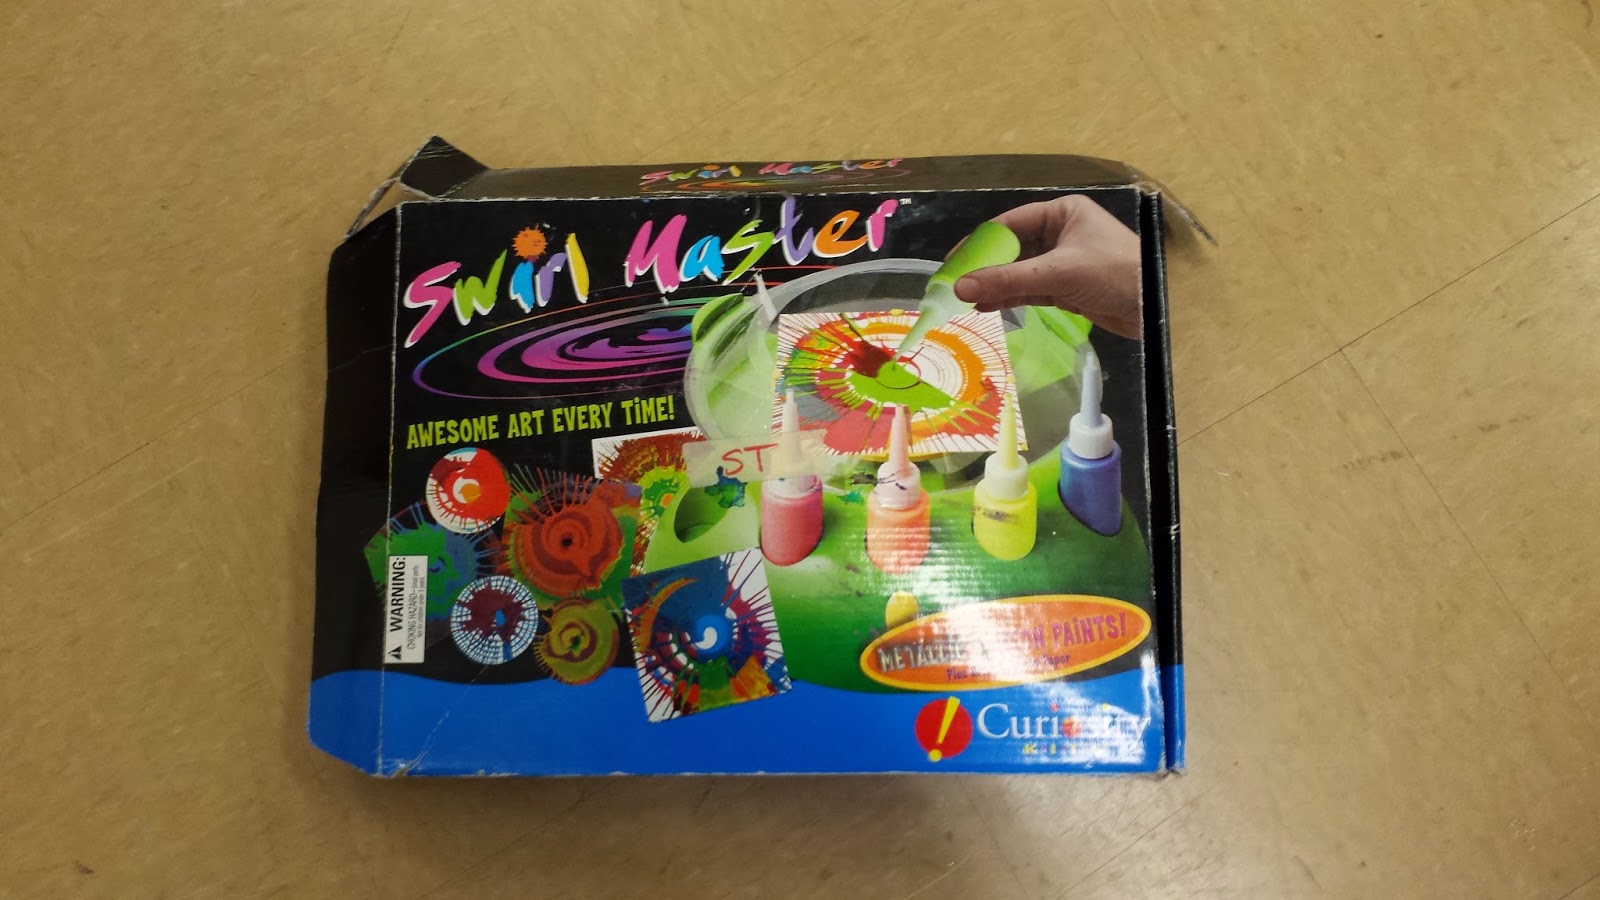
I couldn't help myself.  When I saw this craft idea done by the 4 year olds at our main site, I had to confiscate the contraption (temporarily) so that we could try it out for ourselves.  Boy, I should have taken a picture of the instructions because I just could't figure out how to place the paper in the spinner.  I resorted to asking the kids to help me figure it out.  Eventually, we all had to use common sense, and not follow the directions. We had to cut our own paper into circles and then...the magic began.


This is the culprit that started it all.  There were no circular papers and not enough interesting paints.  This was the art the four year olds' had hanging on their wall.


I tried to show you the process of the spinning.  Do you remember the principal of centrifugal force? In case you forgot, here's a definition from the dictionary: it is the force, equal and opposite to the centripetal force, experienced by a body moving along a curved path and appearing to propel the body outward. This word comes from Latin. "Centrum" means center and "fugere" means to flee.


This was a buddy system.  One child had to push the battery-operated button to keep the spinning action. When the "painter" was finished dropping paints, the partner stopped pressing the button.


When the art was in the spinning process, what you saw spinning was not the result you ended up with.


This really looks like it could be out in the cosmos creating a planet.


There was no such thing as too much spinning!


All that spinning produced this!


This


produced that.


This


produced that.


This


eventually (because she stopped it and began again)


produced this.


This was such an awesome project; but I have to share this anecdote for you.  We started adding more paints to this project.  I found the glitter paint after a few of the kids had already finished their turn at the spin table.  When the glitter paint was added, it produced a different dimension to the art that my declarations of "this is so beautiful", "this is stunning" had produced something also.  My back was turned to the voice that loudly pronounced, "You hurt my feelings."  I turned around and found that I was the subject of the declarations. "I don't like it when you say that. "So my art work is not as good as his."

The little girl walk away, she looking at me and I looking at her.  I was thinking to myself "what did I do?" She went over to my co-worker and told him why she was sad; I returned to my work to finish up with the last remaining kids because it was toward the end of my shift.  

As the second shift was preparing the snack, the little girl didn't want anything to eat.  She went to the sofa and laid down, her eyes closed and cloching a toy to her chest.  I cleaned up my work area, put on my coat.  Before leaving, I went over to her and placed my hand on her stomach and told her that I was getting ready to leave.  At that point, I should have apologized for unintentionally hurting her feelings; but I didn't.  When she opened her eyes and I looked into her clear blue eyes, I told her that I hoped that she had a good weekend...and I ended by saying "I love you".  Then I walked away quickly to catch my bus.  When I got to the middle of the room, she sprung off of the sofa and I heard voice behind me saying," Did you hear that? Ms. Cheryl said she loves me!"   Man, did I make that little girl's day or what? :)

So, the moral of the story is everyone must receive an equal measure of praise.

Supplies:
1. Spin Art kit
2. circular paper (perhaps CD size or a little less)
3. paints in small squeeze bottles

Directions:
1. precut circular papers
2. place in slots on tray
3. drop paints while tray spins

Note:
Don't forget the GLITTER paint

Duration:
Ten minutes at the most for each child, depending on elaborateness

December 18, 2014

Colored Salt

One of the beginning projects our class did were these colorful art designs. It's too bad that I couldn't keep these and frame them (the kids would have protested big time).  Children don't need too many props to be fascinated with something.  I love the fact that they are simple, curiously interested, and uncomplicated. The website http://fromabcstoacts.com/fine-motor-salt-painting used childrens' names, but this had more of an exploratory feel to it by letting the children discover the  reactions between the elements of glue, salt, and color.   Take a look.


I wonder for an adult version of this, if a landscape can be made on canvas to hang.


Supplies:
1. black construction paper
2. salt
3. water color
4. glue
5. pipettes
6. sealer

Directions:
1. have child make design with glue on construction paper
2. cover glue completely with salt
3. with pipette, drop water color on salt and watch how the salt absorbs the color
4. spray art with sealer to prevent flaking

Duration:
Project takes one day

December 5, 2014

Flying Marshmallows

What do you do on a day that you haven't really planned anything to do with the kids?  Well, you hit Pinterest and hope and pray you find a simple craft quickly.  And having marshmallows already in the cabinets also helped.

I found this fun activity on http://www.itsalwaysautumn.com/2013/5/31/easy-marshmallow-catapults-summer-fun-for-kids.html.  The graphics of how to construct the geometric wonder was very easy to follow; and the kids had a blast shooting them.  Of course, there had to be marshmallows left for eat.  The girls enjoyed a little competition against the boys.  Both groups wanted to see who would be the first to finish building.  I xeroxed the instructions so that they could follow the pictures of how to build the catapult, set the timer, and off they went.   What fun!


Needless to say, there were no losers.  They had too much fun and excitement in flinging the little the marshmallows across the floor, until the all the bases decided at one time not to be bases any longer. But the joy was priceless!


You can have kids measure distance or do estimations to give more depth to the craft.


Supplies:
1. skewers
2. marshmallows
3. plastic spoons
4. rubber bands

Directions:
Since the pictures on the blog It's Always Autumn gives directions so clearly, I'll let you follow them.

November 19, 2014

CD Spinner


I can't think of a bigger hit with the kids than this project.   Three weeks after this activity, a few children were coming back to design more and more spinners!  Just look at the variety.  Since I have a few students that like to half-finish coloring crafts quickly, I had a friendly competition with prizes for those who followed very simple directions:  no white spaces and must use at least three different colors.  Just look at the variety!

If you allow the kids to use glitter on the disc cover, that puts the spinner into another dimension--inter-galactical!


Supplies:
1. CDs
2. CD cover template (make by tracing CD with its center)
3. marbles
4. hot glue gun
5. hot glue stik
6. scissors
7. white computer paper (or construction paper, but it is heavier)
8. glue stick

Directions:

1. let kids color the template
2. cut template out
3. glue template on CD
4. hot glue rim of cap to top of CD
5. hot glue marble to center of CDs bottom
6. glitter (optional)

Caution:
Let the glue dry before allowing to spin CD with glitter, or else you will have to clean up wet glue in addition to glitter off floor and table